






How to Lace Running Shoes to Prevent Heel Slip on Trails and Downhills
Whether you're picking your way down slick, muddy descents in the Peak District or tackling rough, technical trails anywhere across the UK, a secure fit is non‑negotiable. Heel slip can turn a good day out into a blister‑ridden slog, fast. This guide looks at why your heel lifts on downhills, how to spot the signs of a poor fit early, and runs through the best lacing tricks, including the runner's loop, to keep your foot locked in place.
Why Heel Slips Happen on Trails and Downhills
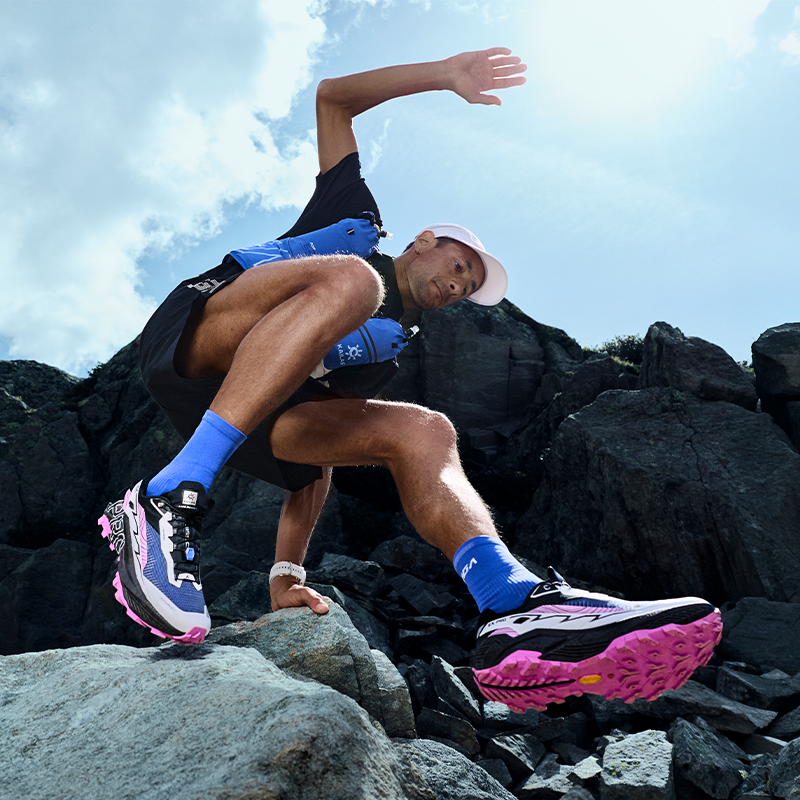
Trail running puts your feet under forces that road running just doesn't throw at you. Your shoes have to work twice as hard to keep a secure hold.
Downhill Running Pushes the Heel Out of Position
When you bomb downhill, gravity naturally pulls your body forward, putting extra pressure on your feet. Your toes tend to slide toward the front of your shoes while your heel lifts away from the back. If your shoes don’t provide a secure fit, this repeated movement can lead to heel slipping, which can quickly become uncomfortable.
Loose Collar Lockdown Reduces Heel Stability
The collar of your trail shoe is meant to wrap around your ankle and hold the back of your foot in place. If your lacing doesn't pull that collar in tight enough, you end up with a gap round the ankle. Then your heel starts moving independently of the sole, and your stability on uneven ground goes right out the window.
Incorrect Lace Tension Creates Internal Shoe Movement
Most runners either tie their shoes too loose or overtighten one spot and leave the rest slack. That uneven tension creates gaps, your foot shifts around, and your shoes end up feeling more like slippers than proper kit.
How to Tell If Your Running Shoes Need Better Lacing
Before a bit of rubbing turns into a proper blister that wrecks your weekend run, your feet will give you a few subtle warnings. Spot them early, and you can tweak your lacing before things get sore or uncomfortable.
Identify Heel Movement Inside the Shoe
The most obvious sign is the physical sensation of the heel rising up against the back fabric of the shoe with every single stride. If you feel an independent upward glide when climbing or a shifting sensation on flat ground, your current lacing setup isn't doing its job.
Notice Pressure Across the Top of the Foot
It might seem logical to pull the middle laces tighter when your heel feels loose, but overdoing it can make your shoes uncomfortable in a different way. Too much pressure across the top of your foot can leave you with soreness or visible marks after a run, which usually means your lacing needs a better balance.
Check for Forward Sliding on Descents
When descending technical banks or rocky paths, your toes should not be constantly bruised by hitting the front end of the toe box. If you find your toes jammed tightly against the front of the shoe, it proves that the rear foot hold has failed completely.
Spot Friction Around the Heel Collar
Take a close look at your heels after a wet trail session; any redness, warmth, or premature wear on the inner lining of your shoe's collar indicates excessive friction. This rubbing is a surefire indicator that the shoe is moving at a different rate than your foot.
Recognize Reduced Stability on Technical Terrain
If you're hesitating on wet roots, loose gravel, or cambered grass because your shoe feels like it might roll or slip, your heel lockdown's probably off. A secure heel gives you the confidence to place your foot with speed and precision while maintaining a quick, controlled cadence across technical ground and steep descents.
Best Lacing Method to Stop Heel Slip
The good news is that you don't necessarily need to bin your favourite pair of trail shoes to fix this problem. Mastering a specific lacing technique can completely transform how a shoe holds your foot, offering an instantly snugger, more stable feel.
Use Heel Lock Lacing for Better Rearfoot Hold
The absolute gold standard for eliminating rearfoot movement is the heel lock lacing method. By utilising the extra, often ignored eyelets at the very top of your running shoes, you can draw the heel cup tightly against your foot without putting extra pressure on the delicate tendons at the front of your ankle.
Create a Runner’s Loop with the Top Eyelets
The runner’s loop (also called heel lock lacing) is one of the easiest ways to reduce heel movement on steep descents and technical trails. It uses the extra top eyelets on your trail running shoes to create a tighter connection between your heel and the shoe collar without squeezing the rest of your foot.
Follow these steps:
Step 1: Lace normally until the second-to-last eyelets.
Thread your laces as you normally would until you reach the second-to-last set of eyelets near the ankle.
Step 2: Create two small loops using the top eyelets.
Instead of crossing the laces, feed each lace straight upward into the final eyelet on the same side. This creates a small loop on both sides of the shoe.
Step 3: Cross the laces and pull them through the opposite loops.
Take each lace across the shoe and pass it through the loop on the opposite side.
Step 4: Tighten downward and backward to lock your heel.
Pull the laces down toward your toes and slightly backward toward your heel. This tightens the heel collar and helps prevent your foot from sliding forward during downhill running.

Tighten the Midfoot Without Restricting Toe Movement
The secret to comfort on long trail runs is keeping the midfoot securely wrapped while allowing the toes plenty of room to splay naturally. Ensure the lower laces over the toe box remain relaxed, and begin building your security from the midfoot upward to the ankle collar.
Balance Lace Tension Across Different Parts of the Shoe
Achieving the perfect fit requires a delicate balance of tension, which can vary wildly depending on the design of the shoe. The table below summarises how to distribute tension across your shoe for optimal performance on the trails:
|
Shoe Zone |
Ideal Tension Level |
Primary Benefit for Trail Runners |
|
Forefoot / Toe Box |
Relaxed / Light |
Allows natural toe splay, prevents swelling blisters, and maintains blood flow. |
|
Midfoot / Instep |
Firm / Snug |
Wraps the arch securely, preventing lateral twisting on uneven terrain. |
|
Heel Collar / Top Eyelets |
Very Secure (Runner's Loop) |
Locks the heel into the rear cup, eliminating vertical slip and forward sliding on descents. |
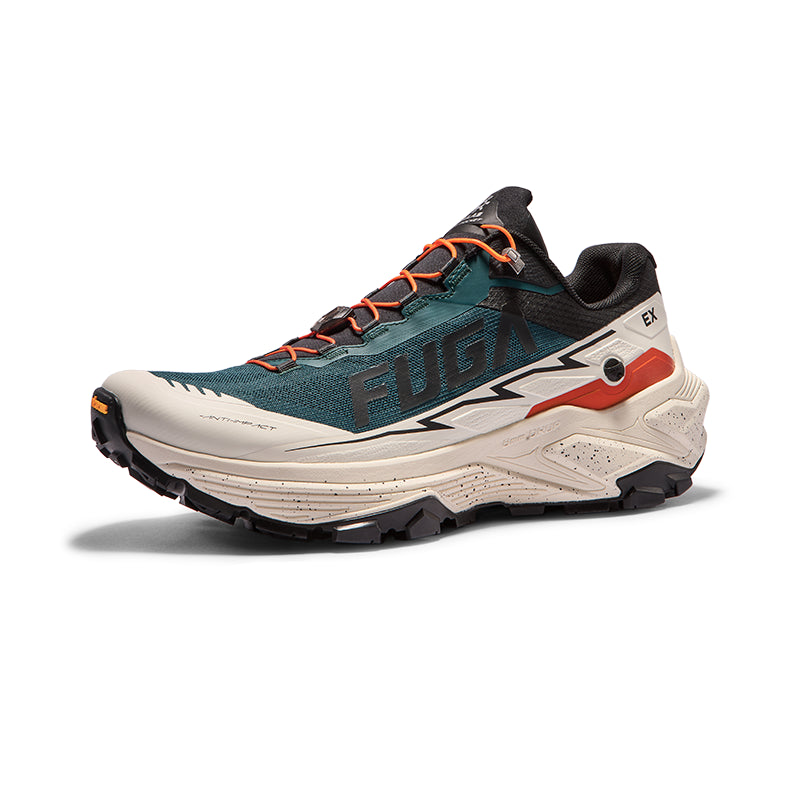
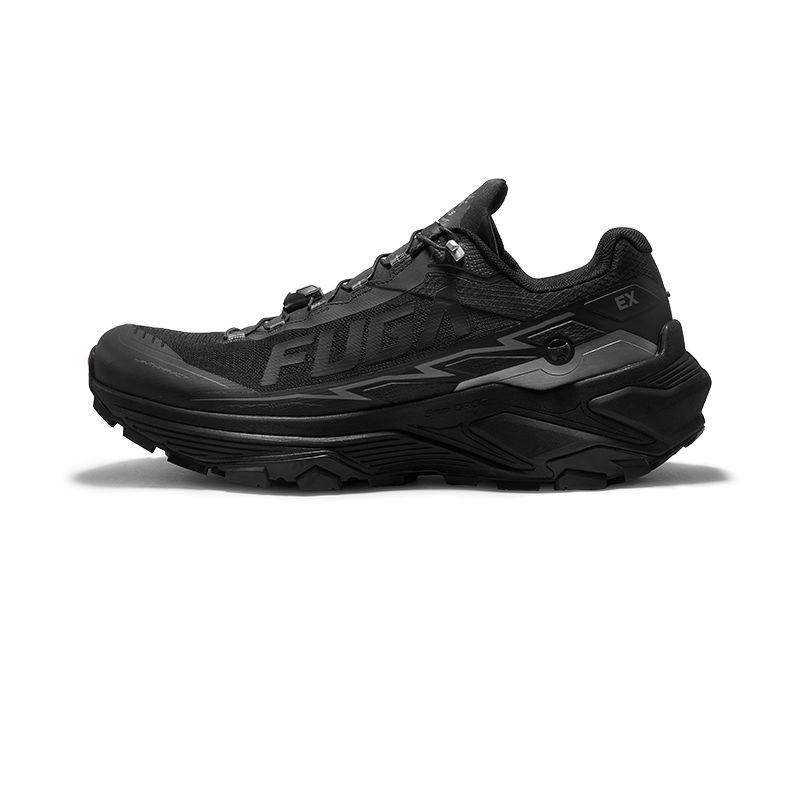
For runners who frequently switch between steep climbs, technical descents, and long-distance efforts, manually adjusting laces mid-run can be frustrating. This is where adaptive fit systems can help. For example, premium trail shoes like the KAILAS FUGA EX 3 and EX330 come equipped with the innovative AWS 3.0™ (Adjustable Whole Sole) System. This dual-dial or multi-zone adaptive fit system allows runners to independently fine-tune the tension across different zones of the foot. By separating midfoot control from forefoot volume, it makes it incredibly simple to maintain a rock-solid heel lockdown and exceptional midfoot control during punishing technical descents and ultra-distance trail runs, eliminating the need to constantly untie and retie traditional laces.
How to Adjust Lacing for Trail Running Conditions
The great outdoors is highly unpredictable, and a lacing setup that felt absolutely perfect in your living room might need a quick adjustment once you are actually out facing the elements.
Tighten Laces for Steep Downhill Sections
Before you head into a long, brutal downhill section, it is well worth pausing for thirty seconds to tighten your runner’s loop. This extra bit of security prevents your feet from sliding forward and protects your toenails from brutal impact damage.
Loosen Forefoot Pressure on Long Runs
As the miles rack up, your feet will naturally swell due to increased blood flow and gravity. This is why forefoot volume and toe-box space matter when choosing ultra trail running shoes for longer distances. If your toes start to feel cramped an hour or two into a run, loosen the lower cross-laces slightly to create more room while keeping the ankle lock firm.
Adjust Midfoot Hold for Technical Terrain
When the trail switches from smooth gravel to technical ground with loose stones, slick mud, and exposed roots, you need a firmer wrap around your midfoot. That support stops your foot from rolling inside the shoe when you're stepping across sloped or angled surfaces.

Retighten Wet Laces During Trail Runs
Water from deep puddles, damp grass, or boggy moorland can stretch ordinary fabric laces over time. During cold, wet sessions, lightweight running gloves can keep your hands warmer while still allowing you to adjust your footwear as needed. After running through wet ground for several miles, stop briefly and retighten your laces to restore a secure lockdown.
FAQs
Can lacing techniques fix a trail shoe that's half a size too big?
Not really. A runner's loop can stop your foot from sliding around a tiny bit, but if the shoe is a half size too big, your footbed is wrong. On steep tech trails, you're just begging for black toenails no matter how you tie it.
Can thin running socks increase heel slip?
Yes, they often do. Thin socks reduce the volume of your foot inside the heel cup and offer less friction. Switching to a medium‑weight, moisture‑wicking sock with padding around the Achilles can fill that extra space and improve heel hold straight away.
Why does heel slip get worse during long trail runs?
Because laces stretch out as they get wet and move, and your calf muscles tire, which changes your gait. Your feet also swell and shift over distance, so the tension you started with loosens off and lets your heel move around more.
Is heel slip more common in lightweight trail shoes?
Yes, it can be. Lightweight shoes often have more flexible heel counters to save weight. Without a stiff internal structure to lock the ankle in, they rely heavily on your lacing to get a secure fit.
How often should trail runners replace their laces?
There’s no strict mileage rule, as modern, high-durability laces often last the lifetime of the shoe. However, grit, mud, and friction wear them down faster than road running. You should replace them as soon as you notice thinning, fraying, or if they start losing tension and slipping mid-run.
Can different foot shapes affect heel lockdown?
Definitely. Foot shape makes a big difference. Runners with narrow heels and wide forefeet, or those with low‑volume feet and flat arches, often struggle with heel slip in standard‑fitting shoes and tend to benefit most from clever lacing.
Conclusion
Fixing heel slip doesn’t mean you need to bin your favourite shoes. Try the runner’s loop on your next trail run, keep your toe box loose, and see how it feels. If you’re tired of messing with muddy laces entirely, it might be time to look at shoes with dialled-in adaptive fits like the Kailas AWS system. Either way, sort your lockdown before your next weekend long run, your toenails will thank you.